Custom Domains
We know you probably love your free .orbiter.website domain, but the world wants to see your brand! Orbiter's Custom Domain features allows you to do that, and it's really simple to use.
Setup
To start using Custom Domains make sure you are on a paid plan and you already have a custom domain ready to use. (We will likely add support to buy domains through Orbiter) You will also want to go ahead and deploy your first site by following the Quickstart Guide!
Adding the Domain
To add your custom domain click on the Setting cog for the site you want to use, then type in the domain. This could either be a naked subdomain like stevedylan.dev or a subdomain like demo.stevedylan.dev. Once you haved typed it in you will see some DNS records we need to set.
Setting the DNS
This step might very depending who your domain provider is. You will want to go to the DNS settings there and set the record you got from Orbiter. It will like be one of the following:
| Record Type | Host | Value |
|---|---|---|
| A | subdomain | 165.22.46.134 |
| Record Type | Host | Value |
|---|---|---|
| A | @ | 165.22.46.134 |
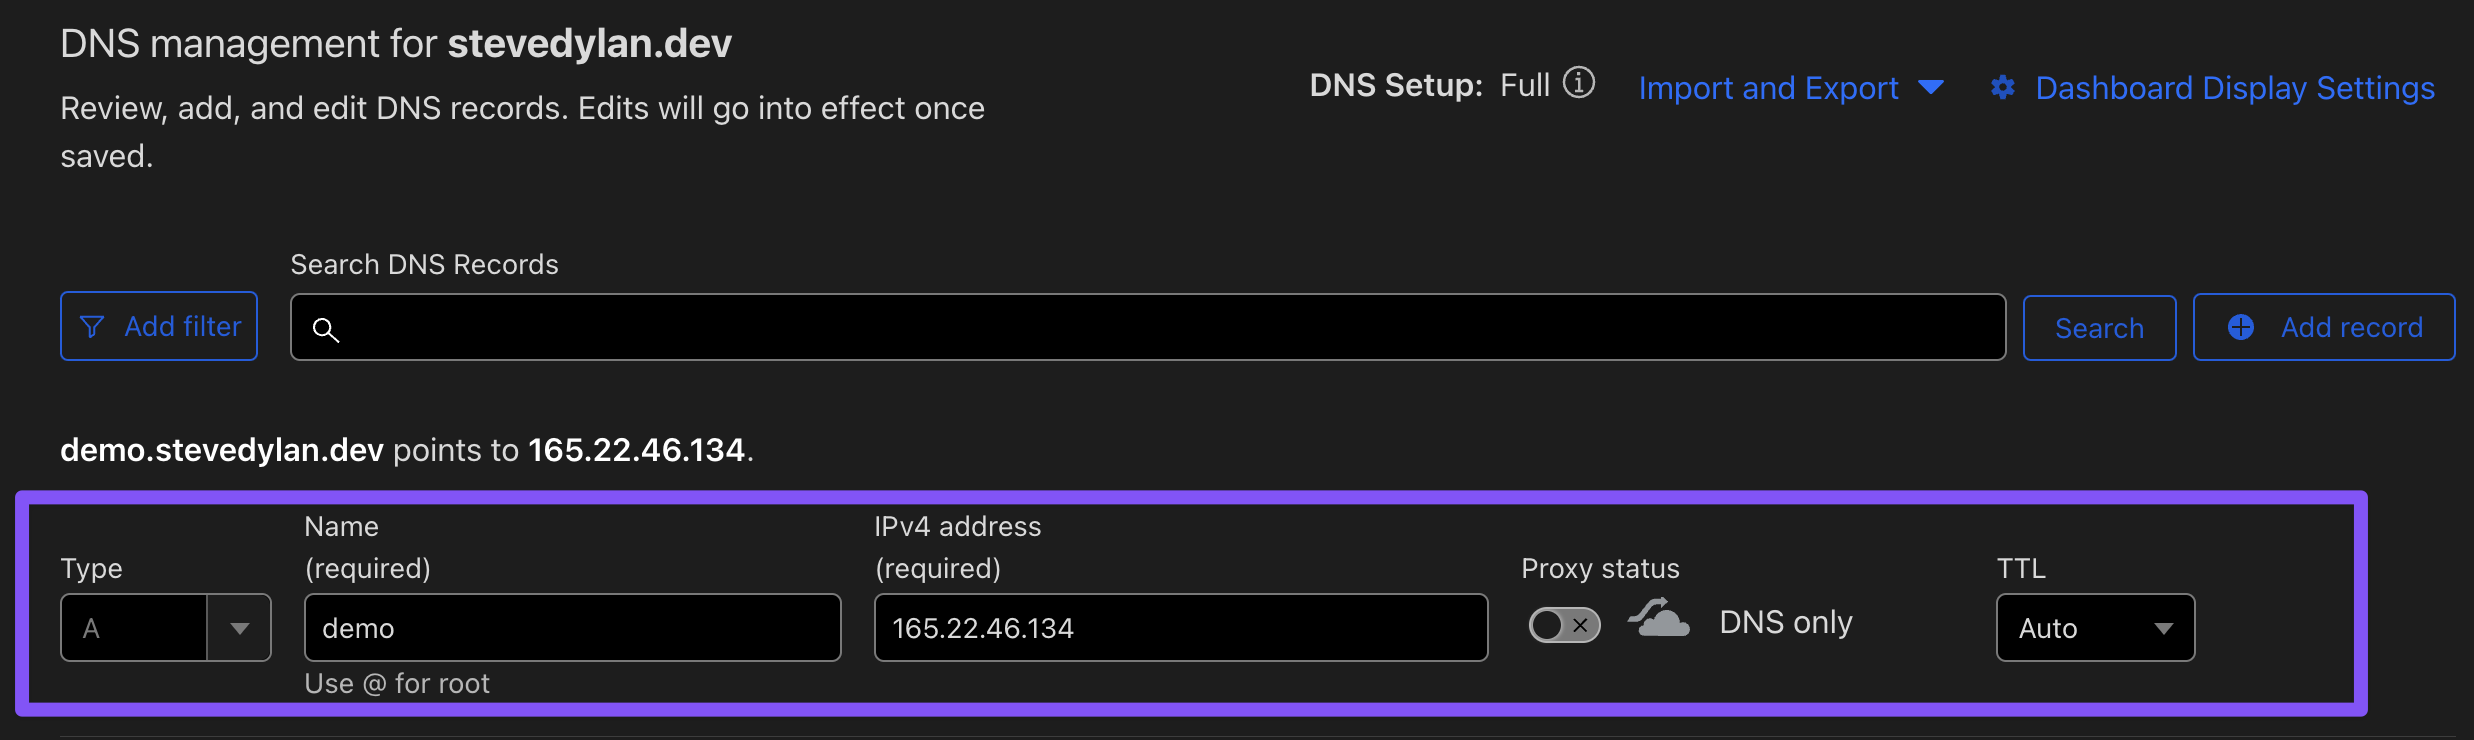
Go into your DNS provider settings to add the record, it might look something like the following
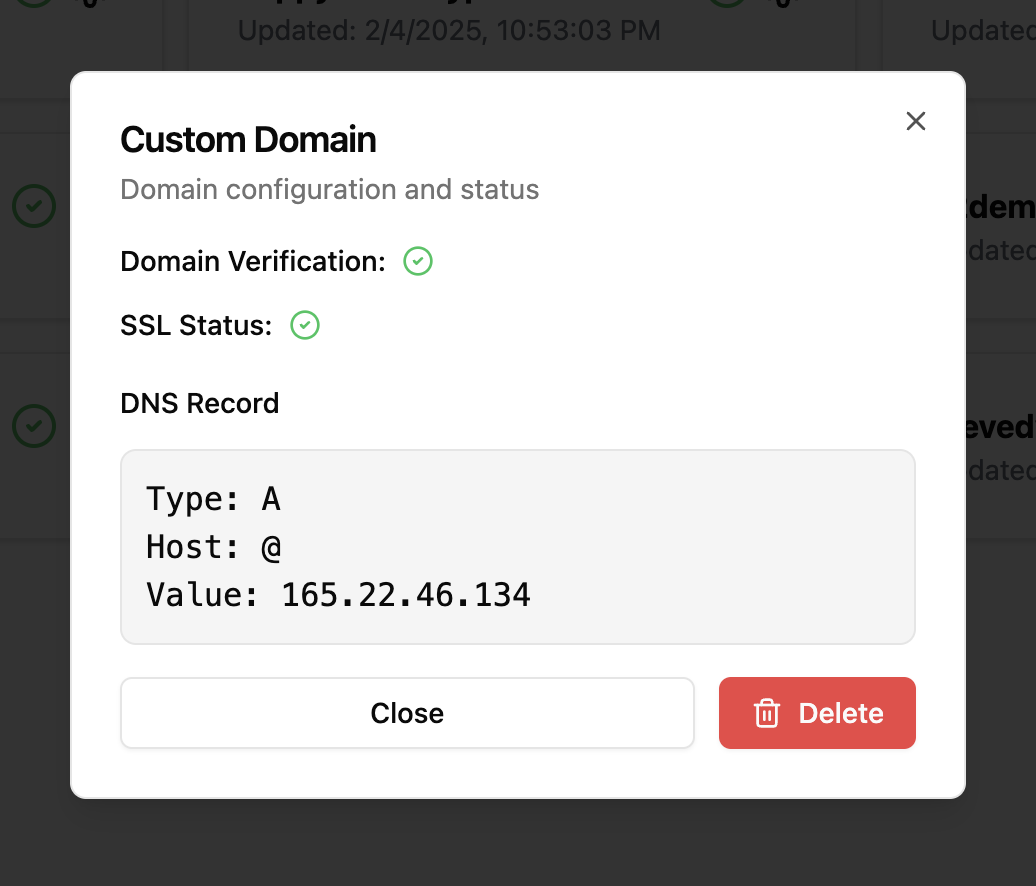
Once you have set the records you can go back to the Orbiter app, click on the settings cog, and the custom domain once again. After the records have been set you should get green lights on both the DNS and the SSL!
You're Done! 🚀
Look at that snazzy new site, really nice! Setting up custom domains is a breeze and will likely put you in a tough spot where you can't stop buying them :)